Preparing print-ready artwork for a flexible pouch requires more than an attractive design. Brands must confirm pouch dimensions, dielines, bleed and safe areas, sealing positions, material structure, color settings, and barcode readability before printing. Envasado Huiyang is an experienced fabricante de envases flexibles offering OEM/ODM solutions, design support, and integrated production services to help global buyers prepare artwork for reliable pouch manufacturing.
Why Packaging Artwork Preparation Matters
When preparing envases flexibles personalizados, artwork approval is one of the most important steps before production. A design that looks perfect on a computer screen may not work correctly after the printed film is cut, folded, laminated, and sealed.
Common problems include logos positioned too close to sealing areas, incorrect pouch dimensions, missing bleed, and barcodes that cannot be scanned reliably. These issues can lead to artwork revisions, production delays, and avoidable material waste.
For brands, importers, wholesalers, and product manufacturers ordering a flexible pouch, the most effective approach is to confirm the packaging structure and production specifications before approving the final design.
1. Confirm the Pouch Structure Before Designing
A flexible pouch is not simply a flat piece of printed film. Different pouch formats have different printable panels, folds, seals, and functional components.
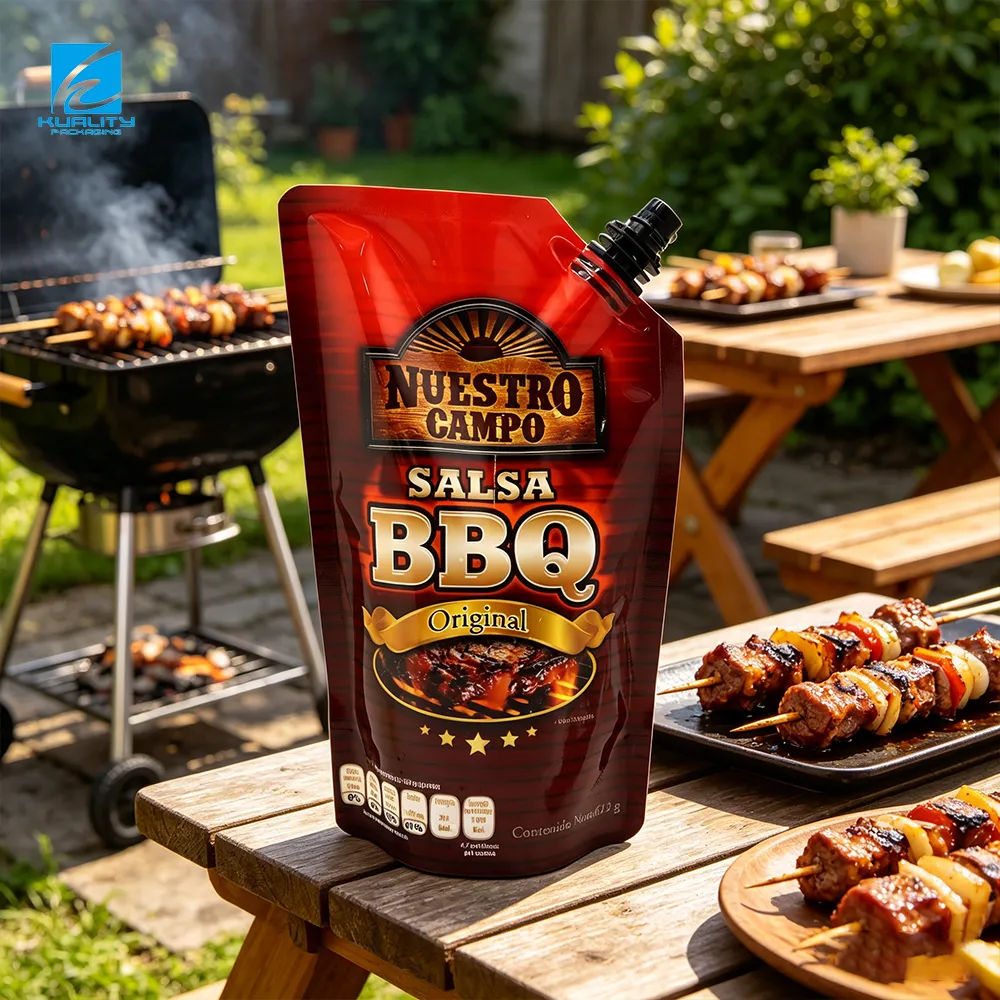
For example, a stand-up pouch has a bottom gusset, while a side-gusset bag includes additional side panels. A bolsa con boquilla requires space for the spout and its sealing area.
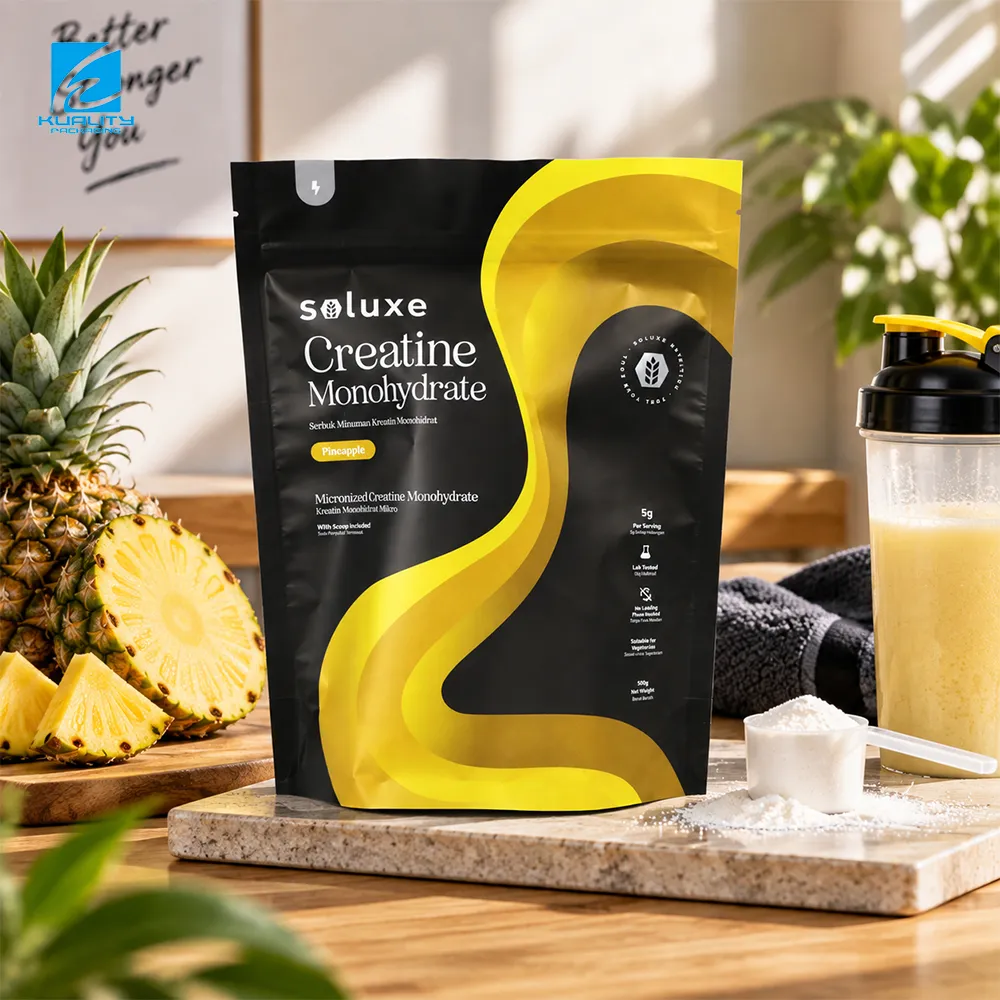

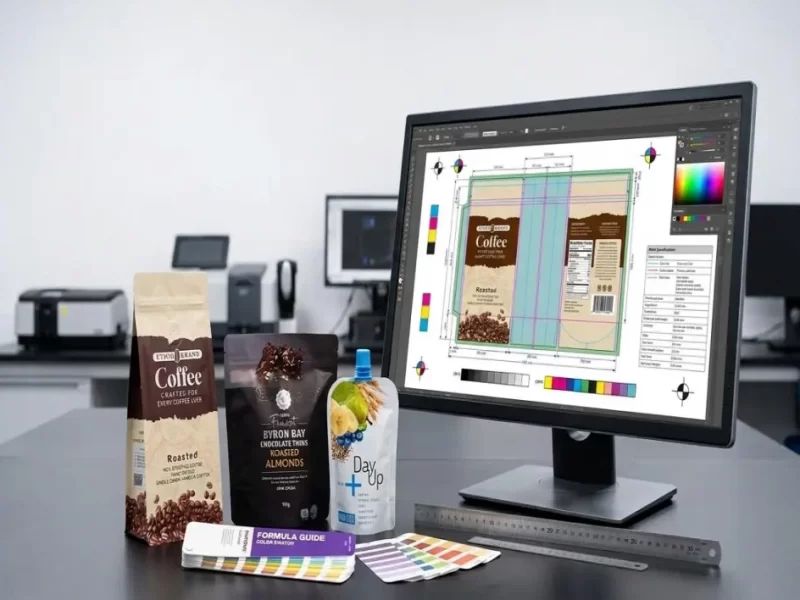
Before finalizing your artwork, confirm the following specifications with your packaging manufacturer:
- Finished pouch dimensions and pouch style
- Material structure and film thickness
- Bottom and side gusset dimensions
- Zipper, spout, tear notch, and handle positions
- Window requirements and transparent areas
- Sealing areas and printing direction
Request the manufacturer’s approved dieline or artwork template before completing the design. This ensures that the artwork matches the actual packaging structure rather than an estimated flat layout.
2. Match the Artwork to the Correct Dieline
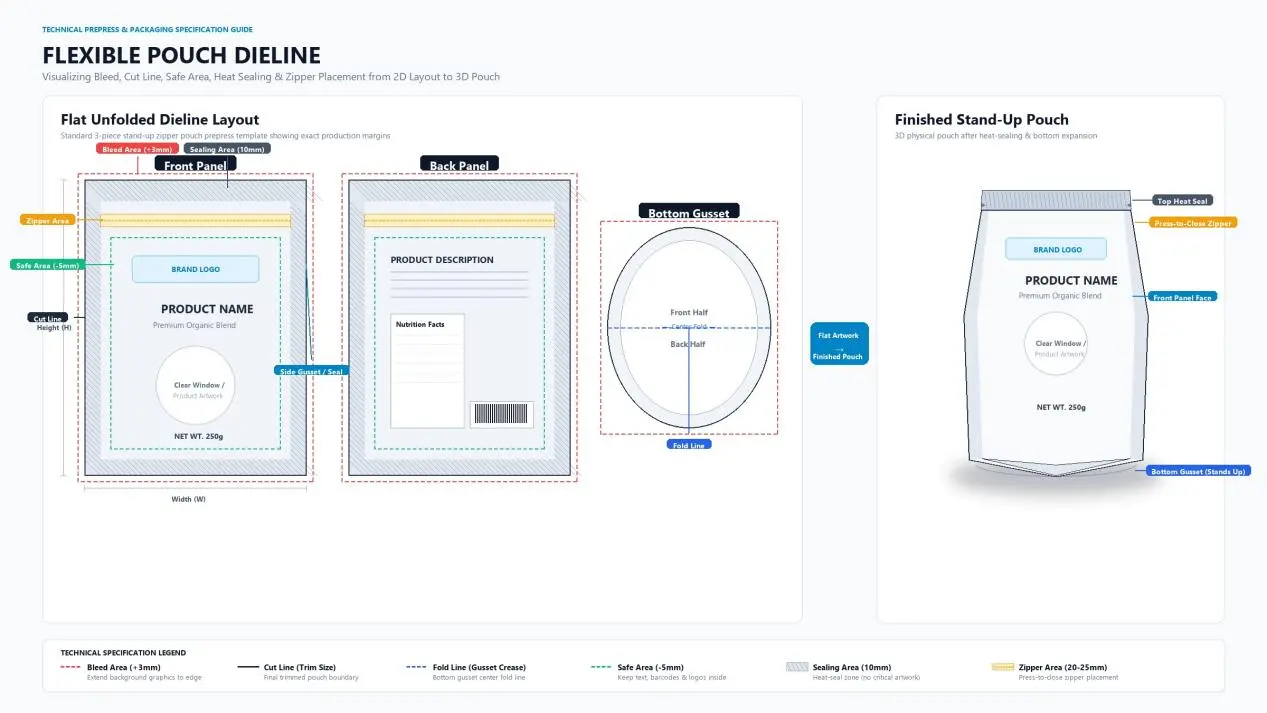
A pouch dieline shows how printed film will be cut, folded, and converted into the finished package. It is the primary reference for positioning graphics and product information.
| Dieline element | Propósito | Artwork requirement |
|---|---|---|
| Cut line | Defines where the film is cut | Keep essential content away from the cutting boundary |
| Bleed area | Extends artwork beyond the final cut edge | Extend background colors and images as specified |
| Safe area | Protects important content | Keep logos, text, and product information inside |
| Fold and gusset areas | Identify sections that fold during conversion | Check alignment and readability on the finished pouch |
| Sealing area | Identifies where film is heat-sealed | Keep critical graphics and text outside restricted areas |
| Printable area | Defines the permitted print region | Confirm all artwork fits the approved production layout |
Bleed and safe-area dimensions depend on the pouch design and manufacturing process. Do not apply a generic measurement without checking the manufacturer’s specifications.
Review the design on the actual flexible pouch template before approving the production file.
3. Keep Important Information Away From Seals and Folds
A common artwork problem occurs when product information is positioned correctly on a flat design but becomes difficult to read after the pouch is folded and sealed.
For example, a product description placed near the bottom edge of a stand-up pouch may end up too close to the bottom seal. The same problem can affect logos on zipper pouches and text on side-gusset bags.
To prevent these issues:
- Place the approved dieline beneath the artwork during design.
- Identify restricted cutting, folding, and sealing areas.
- Keep essential text, logos, and barcodes within the manufacturer’s safe area.
- Review every panel, including the gussets and bottom section.
- Request a digital proof or physical sample when the project requires additional verification.
The goal is to ensure that the finished package remains readable and visually consistent after conversion.
4. Check the Material Structure Before Approving Colors
The final appearance of printed packaging depends on the material structure as well as the artwork.
Common structures include PET/PE, PET/MPET/PE, and PET/AL/PE. Their optical characteristics, barrier properties, and suitability for different applications vary.
| Estructura del material | Typical characteristic | Artwork consideration |
|---|---|---|
| PET/PE | Printable outer layer with a heat-sealable inner layer | Confirm color reproduction and the required barrier performance |
| PET/MPET/PE | Metallized layer provides opacity and light-barrier properties | Check metallic effects and whether white ink is needed |
| PET/AL/PE | Aluminum foil provides a strong light barrier and high barrier performance when properly converted | Confirm opacity, color appearance, and application requirements |
These are general material characteristics, not a substitute for product-specific testing. The appropriate structure depends on the product, shelf-life target, filling conditions, and required barrier performance.
White ink is especially important when printing on transparent or metallized films. It can create an opaque background beneath selected graphics and help control the appearance of brand colors.
A monitor cannot accurately reproduce every effect of the final printed film. Discuss color expectations with your flexible packaging supplier and approve the required proof before mass production.
5. Prepare a Technically Correct Print-Ready File
A print-ready artwork file must meet the manufacturer’s technical requirements, not just contain the correct design.
Check the following elements before submitting your files:
- Image resolution: Ensure images have sufficient effective resolution at their final printed size.
- Logo format: Use vector artwork for logos and scalable graphics whenever possible.
- Fonts: Embed fonts or convert them to outlines when required by the production workflow.
- File format: Confirm whether the manufacturer requires AI, PDF, or another format.
- Color settings: Follow the specified color mode, color profiles, and spot-color requirements.
- Linked assets: Ensure all linked images and supporting files are included.
- Artwork version: Label the final approved file clearly to prevent outdated designs from entering production.
Do not assume that every printing job uses identical settings. Your packaging manufacturer should provide the applicable artwork specifications before final export.
6. Verify Barcodes, QR Codes, and Product Information
Errors in product information can create problems after packaging has been printed. Carefully proofread all content before approval.
Use this checklist:
- Brand name and product name
- Net weight or volume
- Ingredients and nutrition information, where applicable
- Storage and usage instructions
- Manufacturer or distributor details
- Website and contact information
- Barcode and QR code
- Required language versions and market-specific information
For international orders, confirm that the content meets the applicable requirements of each target market.
Before approving the artwork:
- Verify the barcode number and encoded information.
- Preserve the required quiet zones around the symbol.
- Maintain suitable contrast between the bars and background.
- Avoid placing the barcode across folds, seals, or other interfering features.
- Confirm that the final printed barcode can be scanned as intended.
For critical retail applications, arrange barcode verification using the relevant standards and requirements rather than relying only on a visual inspection.
7. Account for Zippers, Spouts, Windows, and Other Features
Functional components affect the available printing area and must be incorporated into the artwork from the beginning.
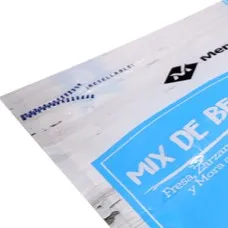
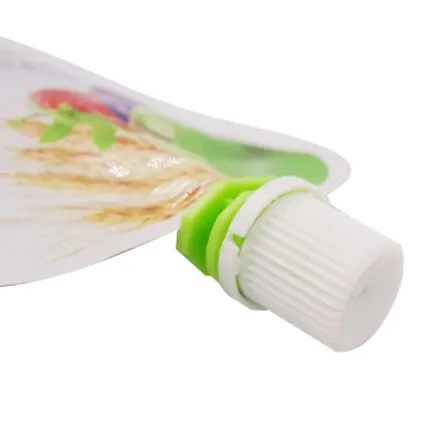
| Pouch feature | What to check before printing |
|---|---|
| Cremallera | Confirm its position and keep essential content clear of the zipper area |
| Caño | Reserve the required space for the spout and surrounding seal |
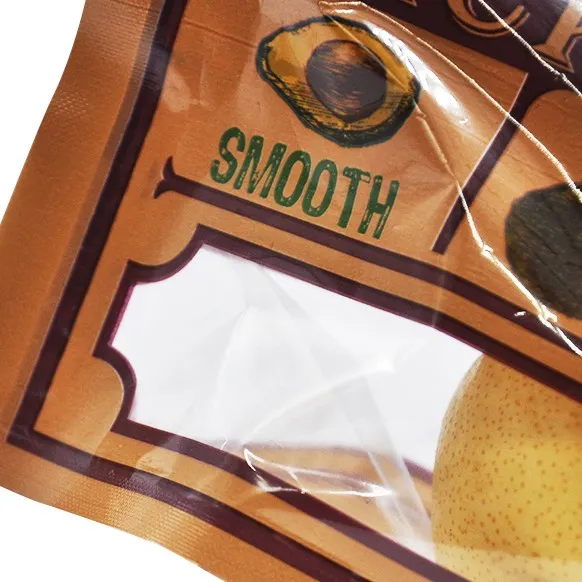
| Transparent window | Define the window shape and ensure product information does not overlap it |
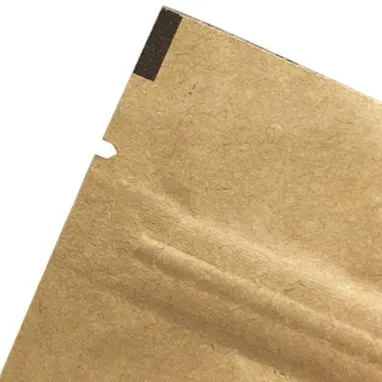
| Tear notch | Check the notch position and its relationship to nearby graphics |
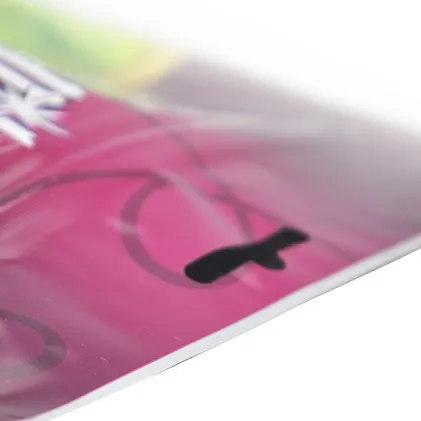
| Handle or euro hole | Confirm the cutout position and preserve the required clearance |
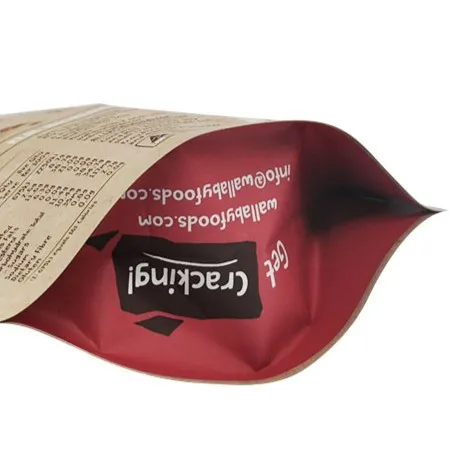
| Gusset | Review how the design appears when the pouch is expanded and filled |
For a custom stand-up pouch with a window, for example, the designer should confirm the exact transparent area before positioning product images or text. For a bolsa con boquilla, the spout location and sealing requirements must be confirmed before the artwork is finalized.
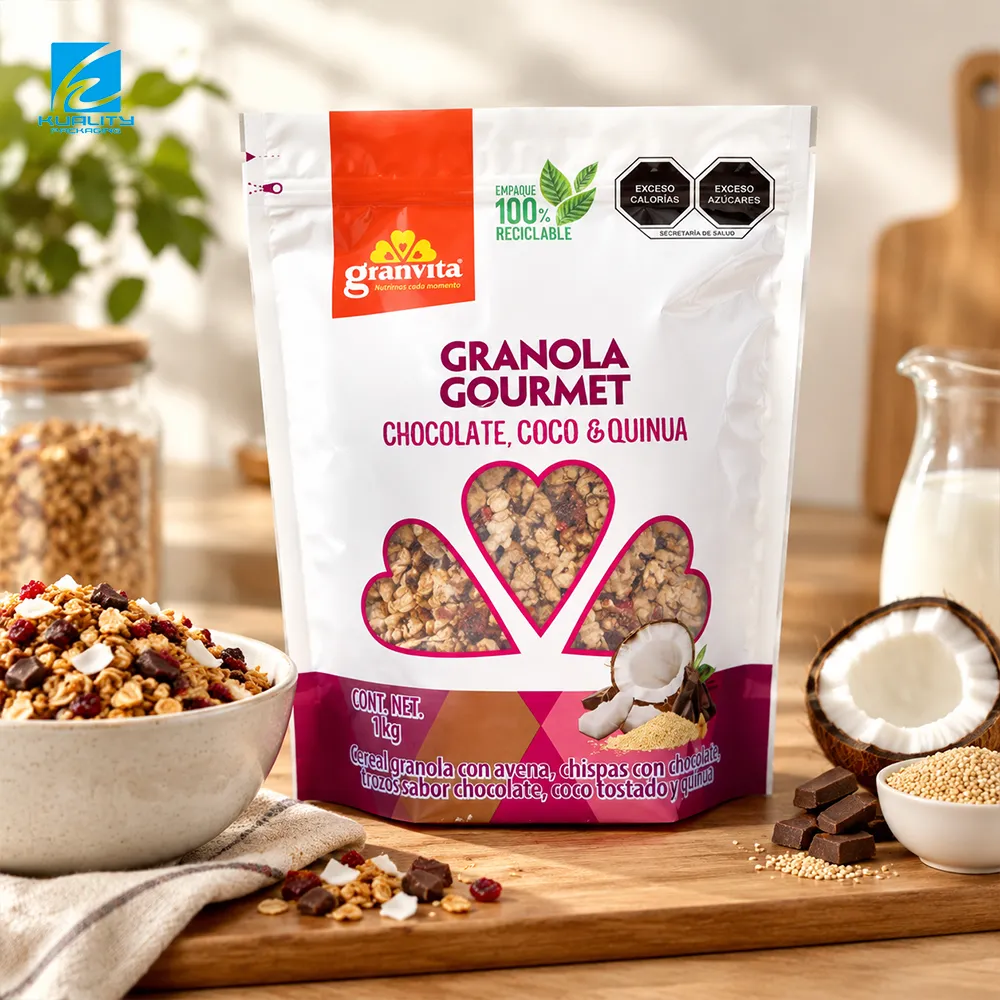
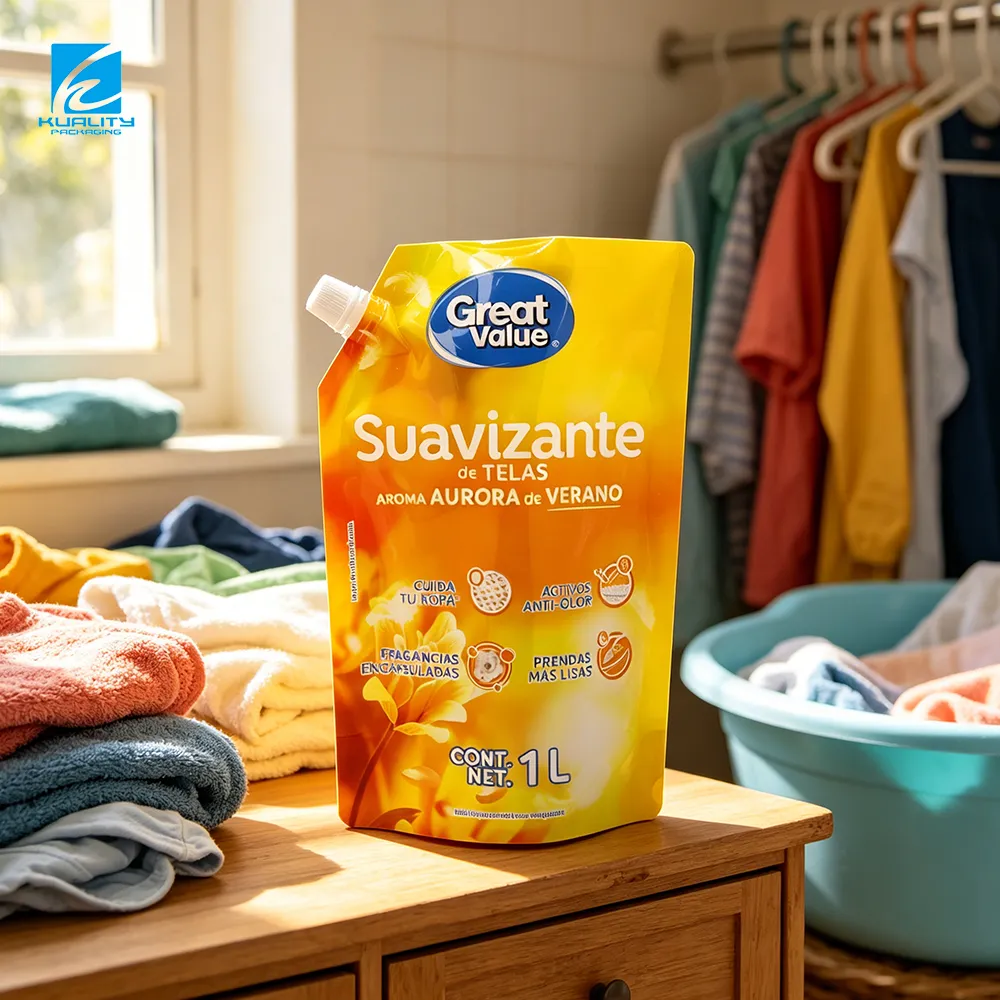
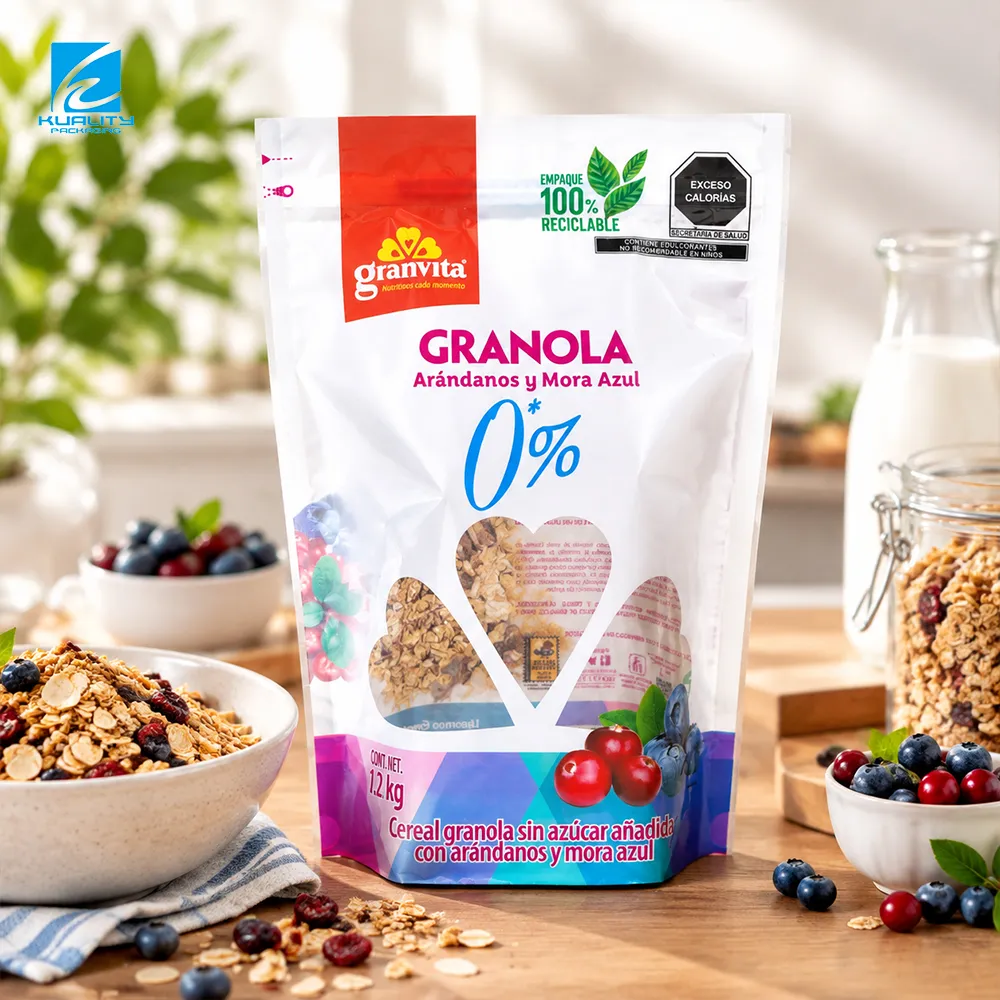
The manufacturer’s approved structural template should guide every decision.
8. Review Artwork With Your Packaging Manufacturer
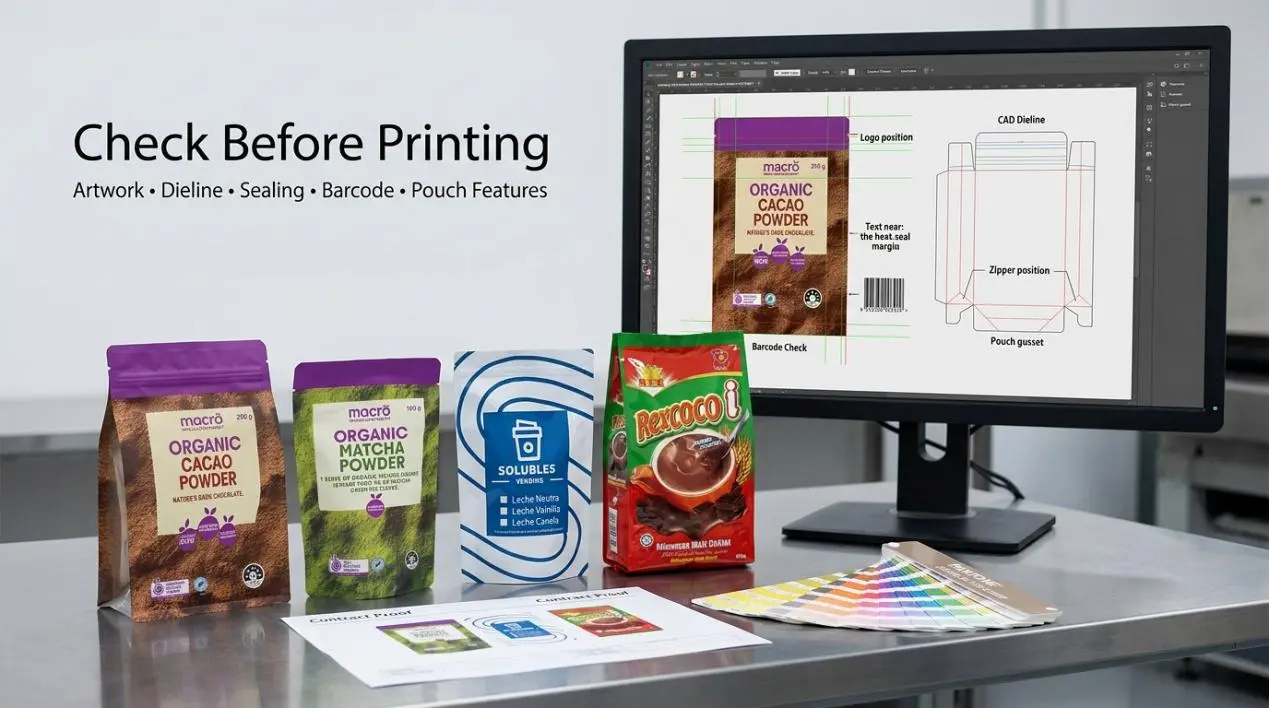
A previous Envasado Huiyang customer submitted artwork for a custom food packaging pouch that appeared ready for printing. During the template review, our team identified product information positioned too close to the bottom sealing area.
The customer had designed the layout using the flat pouch dimensions without fully accounting for the folding and sealing process. After discussing the issue, the artwork was adjusted before printing.
This example illustrates why artwork review should involve both the brand’s designer and the packaging manufacturer. The designer protects the intended brand presentation, while the manufacturer checks whether the design can be converted into the required physical package.
Early collaboration helps identify production issues before they become costly corrections.
9. Final Flexible Pouch Artwork Checklist
Use this checklist before approving any flexible pouch for mass production.
Pouch specifications
- Correct pouch size and style
- Approved material structure and thickness
- Confirmed gusset dimensions
- Verified zipper, spout, window, and other features
Artwork setup
- Correct manufacturer-provided dieline
- Appropriate bleed and safe areas
- Text and graphics clear of restricted seals and folds
- Correct printing direction and color requirements
- Sufficient image resolution and correct file format
- Fonts and linked assets prepared correctly
Content verification
- Product information and spelling checked
- Ingredients and required market information reviewed
- Barcode and QR code verified
- Language versions approved
Final approval
- Artwork matches the confirmed pouch structure
- Color expectations and material effects reviewed
- Final proof approved by the responsible stakeholders
- Correct artwork version released for production
Preguntas frecuentes
1. What is print-ready artwork for a flexible pouch?
Print-ready artwork is a production file prepared according to the manufacturer’s specifications. It includes the correct dieline, dimensions, bleed, safe areas, color settings, images, fonts, and product information, with all critical elements positioned correctly.
2. Should I design the artwork before choosing the pouch structure?
No. Confirm the pouch style, dimensions, material, and functional features first. Your manufacturer can then provide the correct dieline, allowing the designer to create artwork that fits the finished package.
3. What file format should I send to a flexible packaging manufacturer?
AI and PDF are common formats, but requirements vary by manufacturer and printing process. Confirm the required format, color settings, font handling, and linked assets before exporting the final file.
4. Why can printed colors differ from colors on my monitor?
Monitors use light to display colors, while printed packaging relies on inks and the properties of the film. Material opacity, metallization, white ink, and printing conditions can affect the final appearance. Approve the appropriate proof when color accuracy is important.
5. Can my packaging manufacturer help check artwork before printing?
Yes. A capable manufacturer can review the artwork against the approved dieline, material structure, sealing areas, and production requirements. This review complements the brand owner’s responsibility for proofreading and regulatory approval.
6. How can I reduce artwork revisions when ordering custom flexible pouches?
Provide the manufacturer with the intended pouch style, dimensions, product application, material requirements, and special features at the start of the project. Use the approved template, consolidate feedback, and confirm the final proof before authorizing mass production.
Conclusion: Work With Envasado Huiyang on Your Custom Flexible Pouches
Successful flexible packaging starts with accurate specifications, not just attractive graphics. Confirming the pouch structure, dieline, material, sealing areas, colors, and product information before printing helps reduce avoidable revisions and supports consistent production.
A structured pre-printing review also gives brands greater confidence when ordering custom pouches in bulk. Work with your packaging manufacturer early, follow the approved technical specifications, and release artwork only after the final proof has been checked.
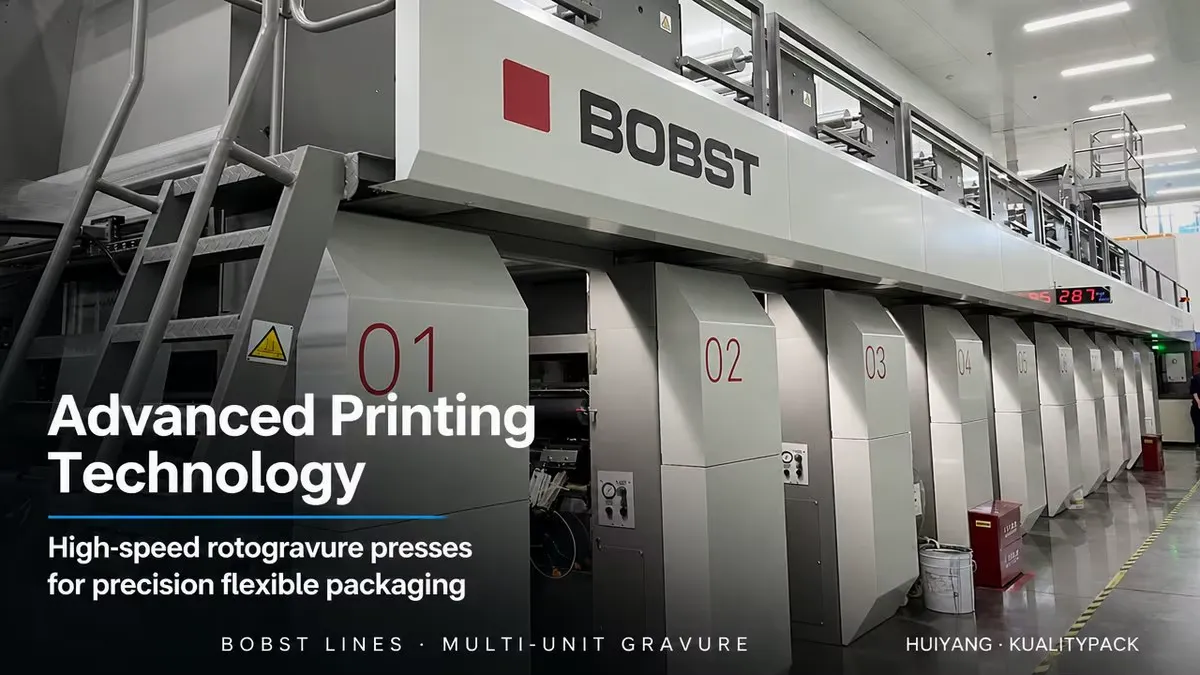
Envasado Huiyang es un fabricante de envases flexibles with more than 25 years of industry experience, specializing in OEM/ODM flexible packaging solutions for global customers. Our integrated capabilities cover material development, design support, high-speed printing, lamination, and pouch manufacturing. Our product range includes stand-up pouches, spout pouches, vacuum bags, pillow bags, flat-bottom pouches, cold-seal films, and roll stock for food, personal care, pharmaceutical, and cosmetic applications. Supported by an ISO 9001 quality management system and relevant SGS and FDA-related requirements, we help B2B buyers develop packaging solutions tailored to their products and markets. Contact Envasado Huiyang to discuss your packaging specifications, request artwork guidance, and obtain a quote for your next custom flexible pouch project.